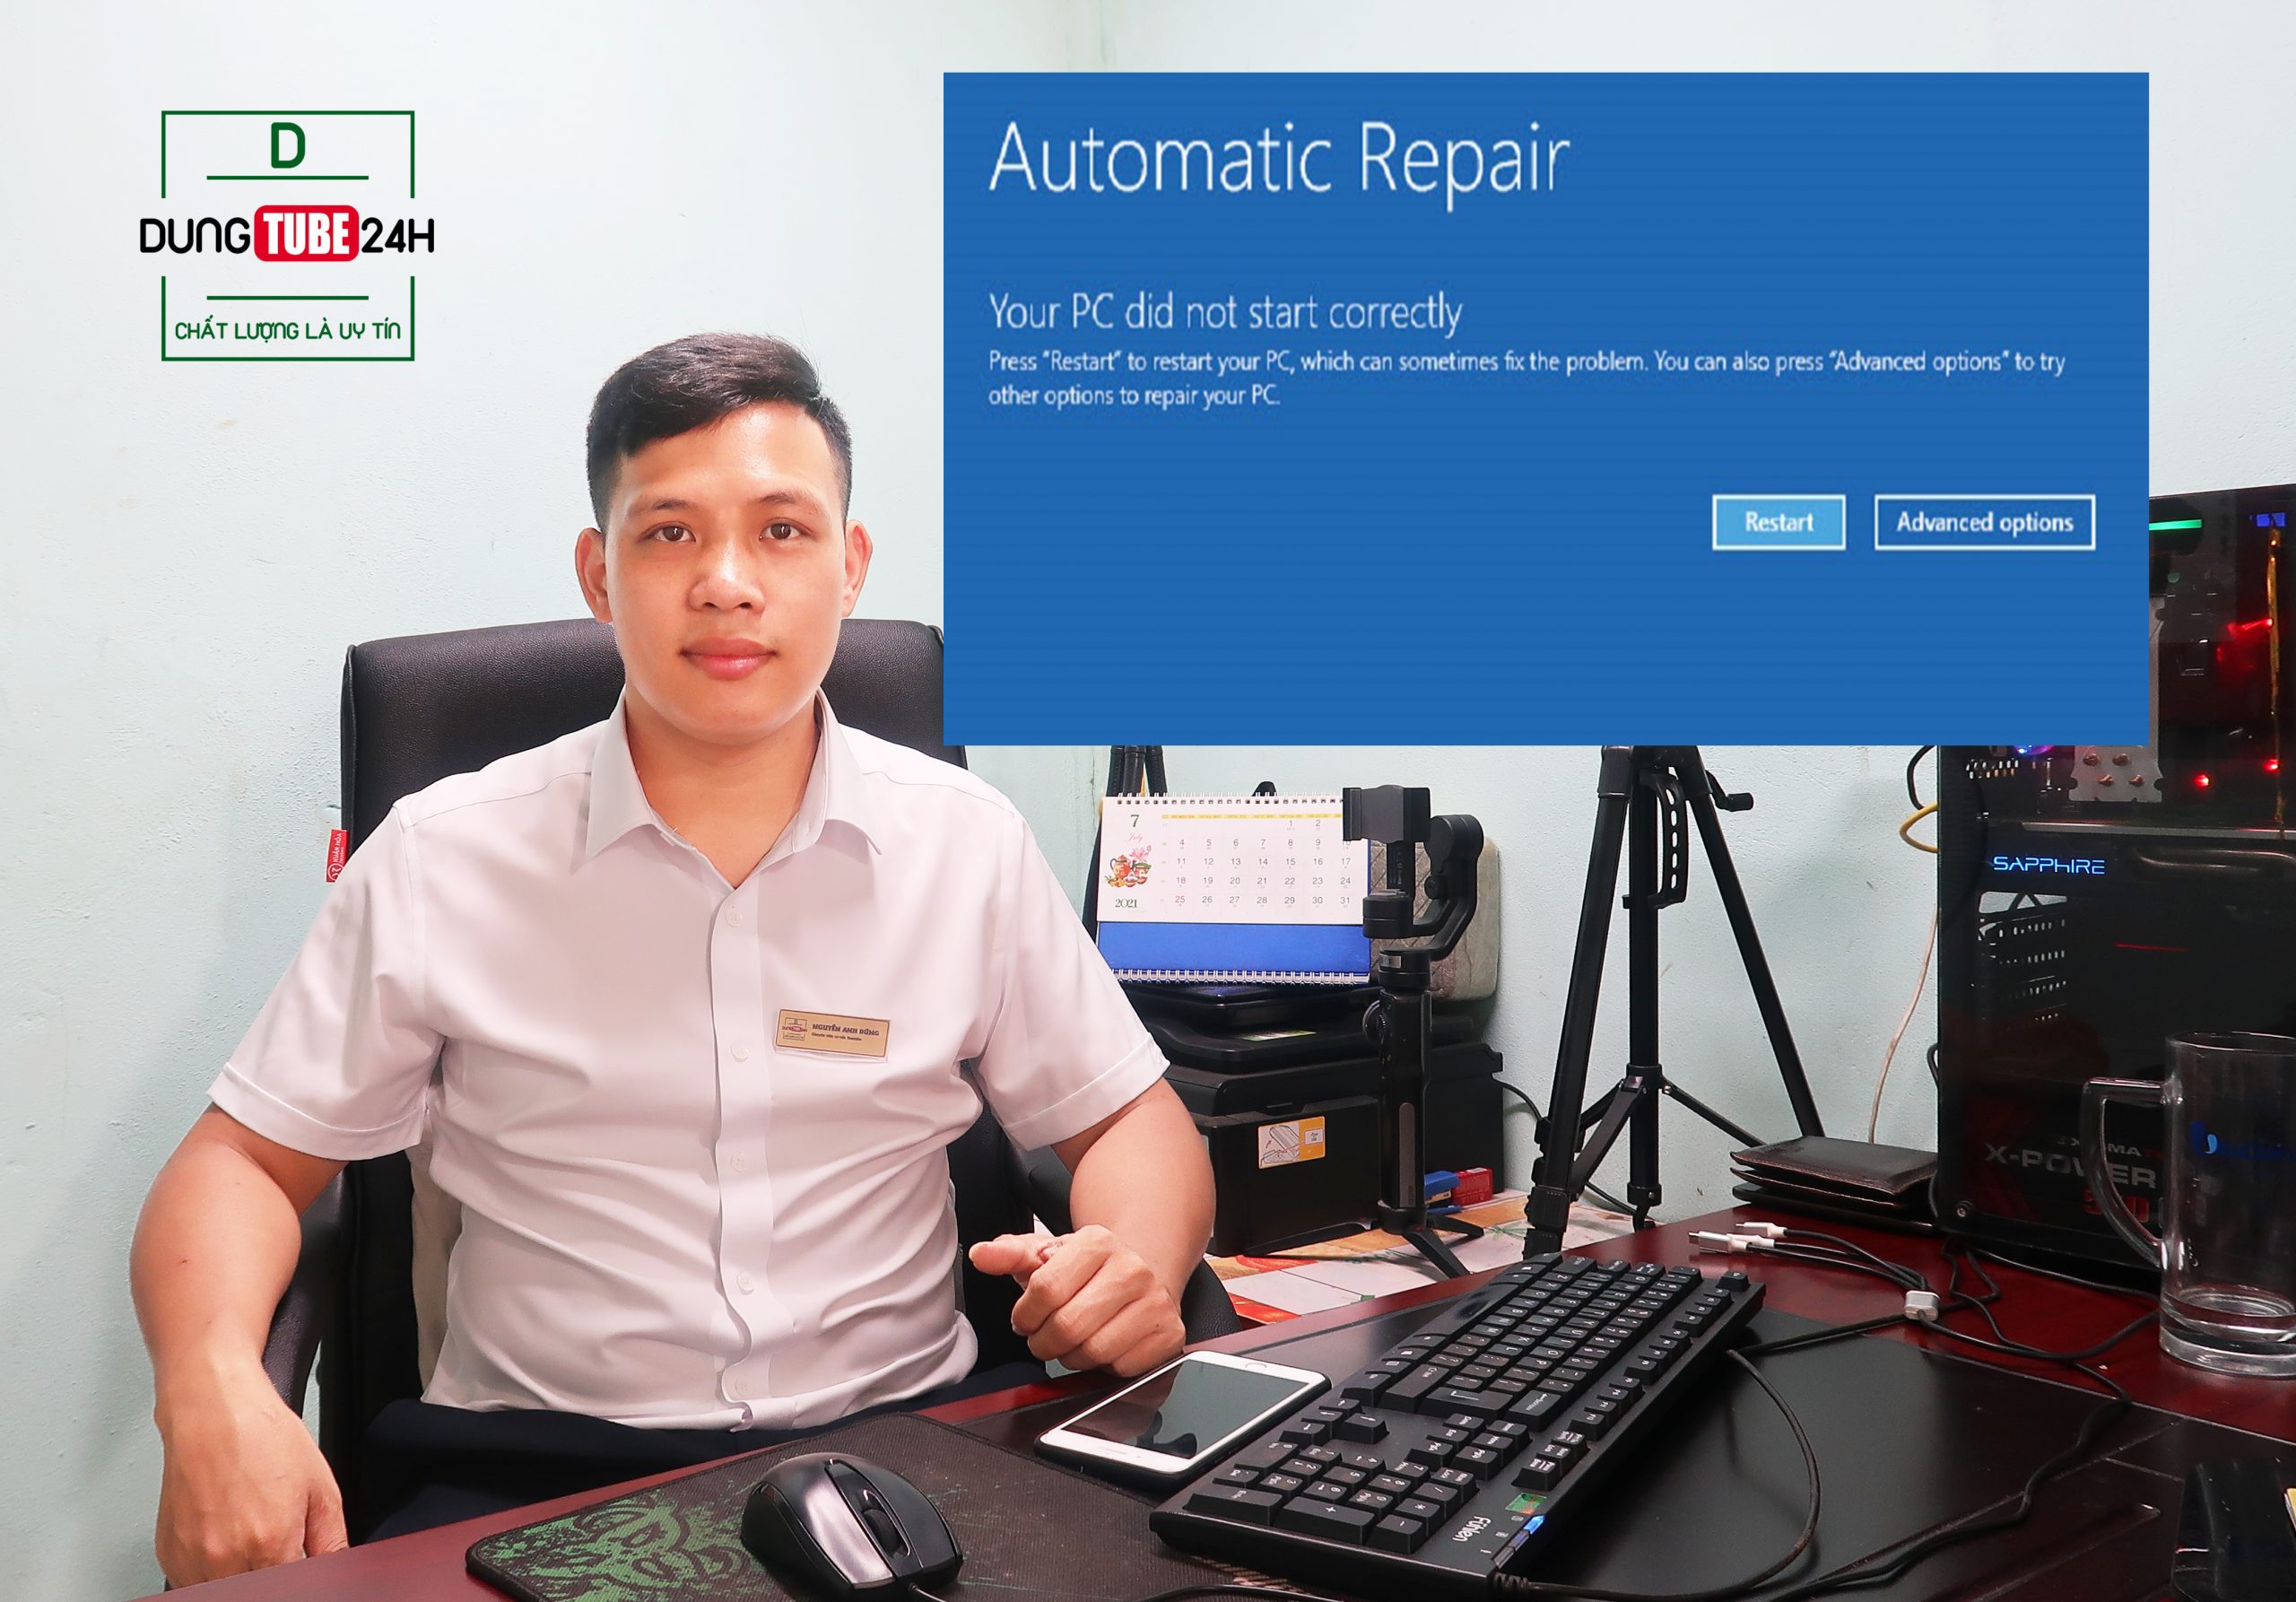
Lỗi Automatic repair Bài Viết Chi Tiết Nhất Sửa Lỗi Automatic repair
Automatic Repair adalah fitur bawaan Windows yang dirancang untuk memperbaiki masalah terkait boot ketika masalah startup muncul secara otomatis. Terkadang, ketika gagal berfungsi, error "Automatic Repair" muncul, dan membuat komputer Anda reboot berulang kali.

How To Fix Windows 10 Stuck "Preparing Automatic Repair" Loop?
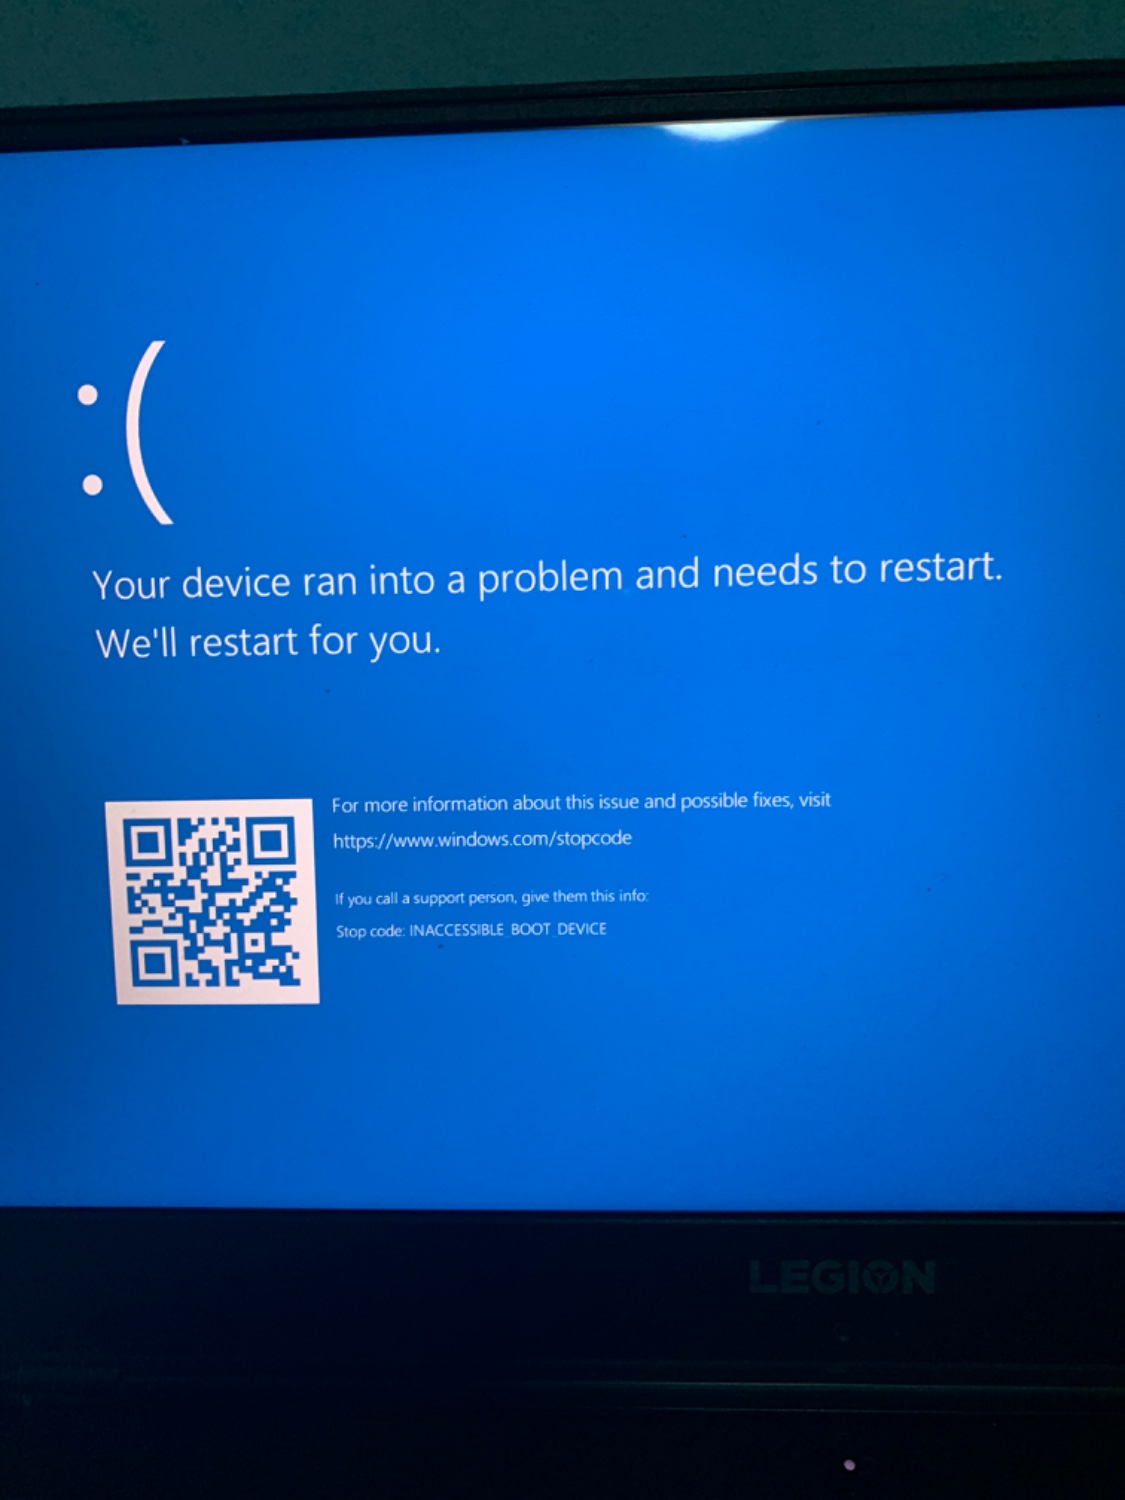
bootrec.exe /fixboot. Once you have successfully executed all the above commands, enter the below-mentioned commands, one at a time, and execute them by pressing Enter on your keyboard after each command to execute them. chkdsk /r c. chkdsk /r d. Finally, restart your PC and check if the issue was resolved. 4.
Cara Mengatasi Automatic Repair Couldn’t Repair Your PC Windows 10 YouTube
To disable automatic repair during the third unsuccessful boot of Windows 11 or 10, use these steps: Open Start. Search for Command Prompt, right-click the top result, and select the Run as.
How to Resolve Windows 10 Automatic Repair Loop MiniTool
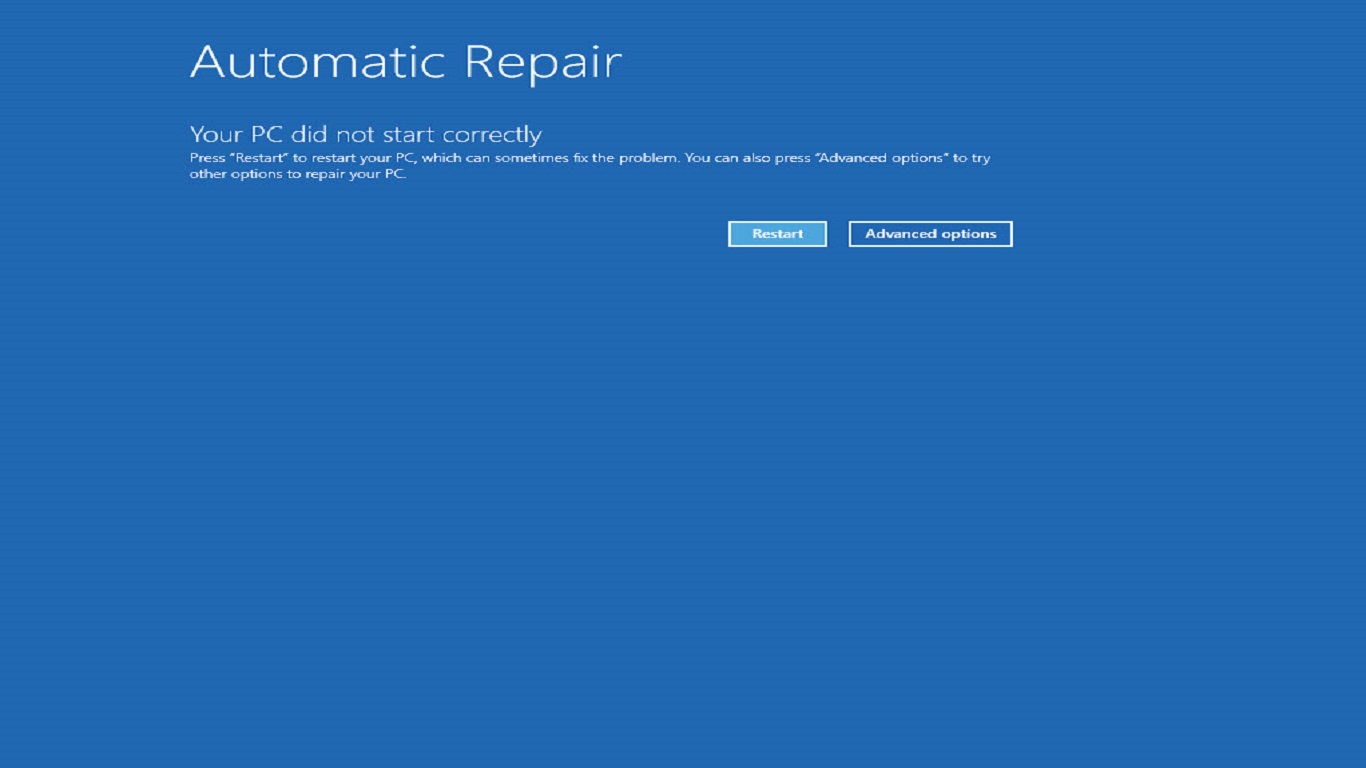
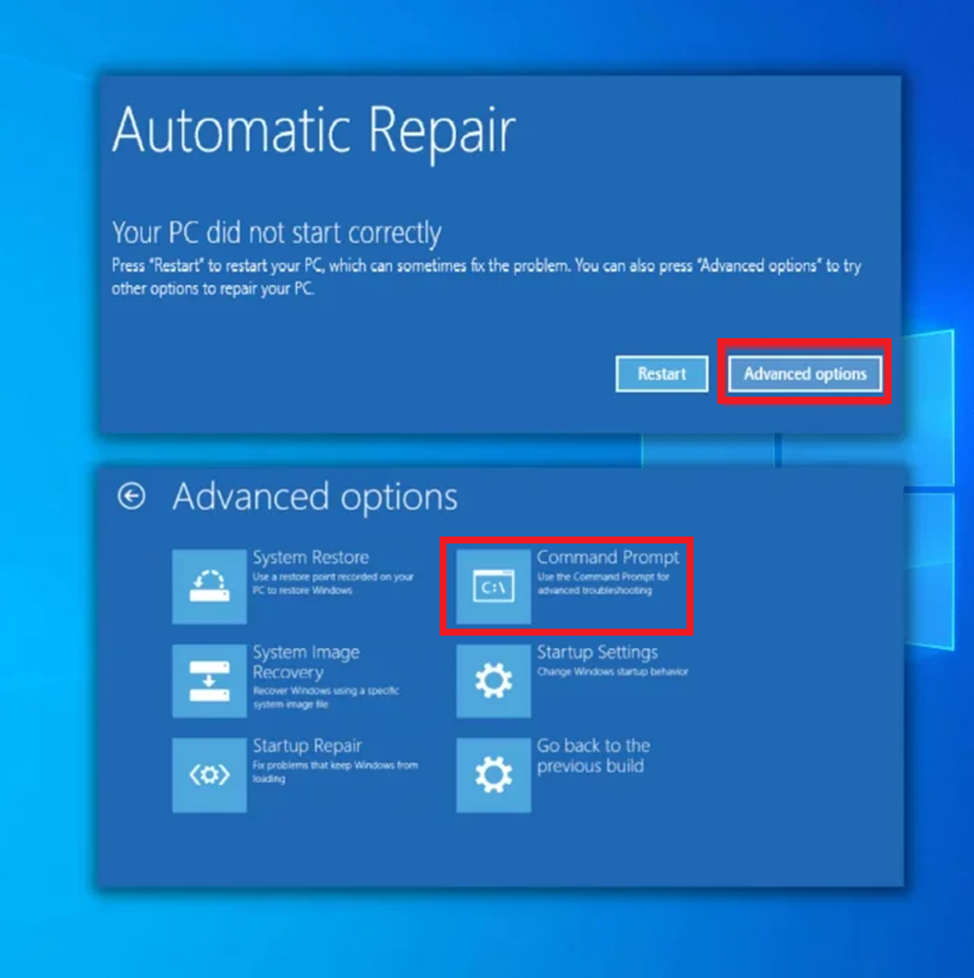
Solution 1: Restart your Surface. On the Automatic Repair screen, select Restart. If Windows starts: Install the latest Surface and Windows updates to help prevent future problems. For more info, see Download drivers and firmware for Surface. If Windows doesn't start: Go to Solution 2.

How To Fix Automatic Repair Loop In Windows 10 Itpro Images and Photos finder
Pada tutorial kali ini saya akan berbagi tutorial cara mengatasi automatic repair di windows 10Simak terus videonya sampai selesai.Berikut langkah-langkah un.
คอมขึ้น preparing automatic repair Pantip
Restart your PC and press the "F8" key (this will trigger the Windows troubleshooting menu) Select "See advanced repair options". In the "Choose an option" menu, click "Troubleshoot". Under the "Troubleshoot" menu, select the "Advanced options" option. Select "Command Prompt" in the "Advanced options". In the.
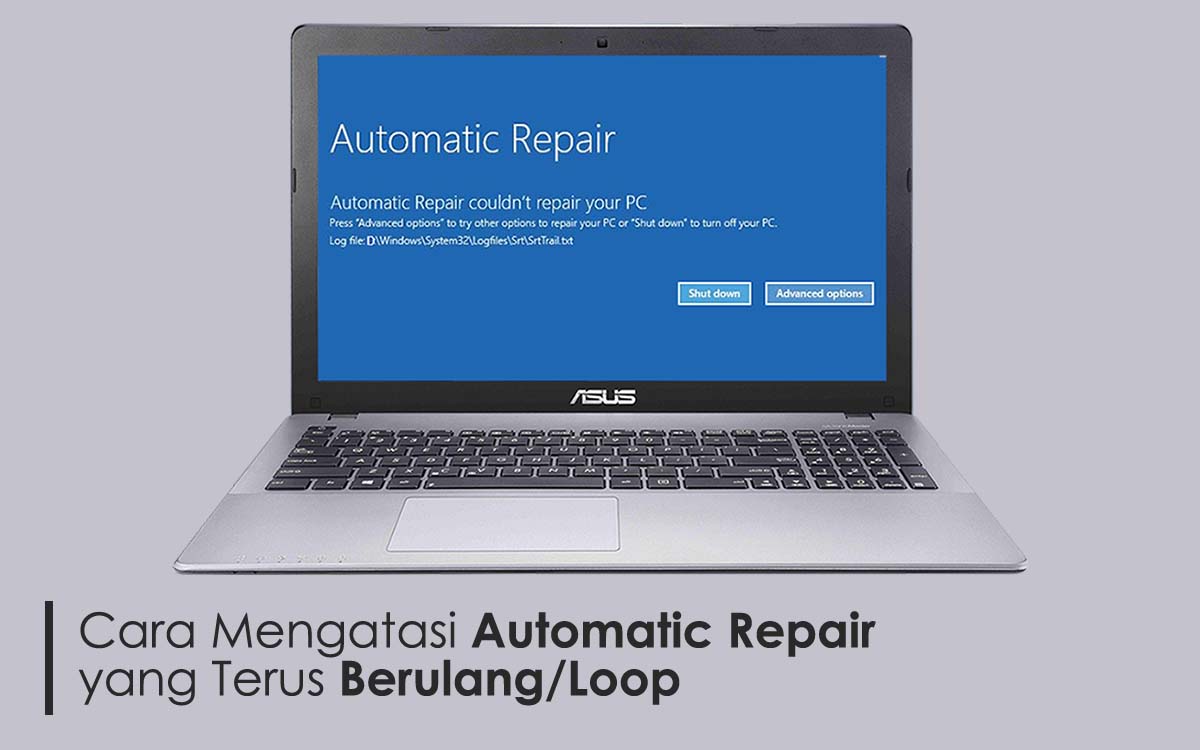
5 Cara Mengatasi Automatic Repair yang Terus Berulang Windows 10, 8/8.1 dan 7 Trik/Tips
If you are having trouble with Windows 10 automatic repair, this video will show you how to fix it in 2020. You will learn how to use different methods and tools to resolve common issues and.
Enable or Disable Automatic Repair in Windows 10 Tutorials
To carry out Startup Repair in Windows 11, you need to boot to the Advanced Startup Options screen: Open Windows 11 Settings. Click open System settings. Scroll down till you see Recovery on the.
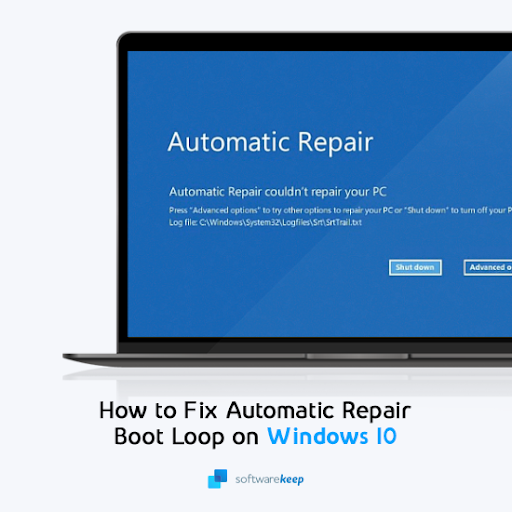
Fix Windows 10 Stuck in "Preparing Automatic Repair" Loop
Fix 1: Use the Bootrec Utility. The bootrec.exe utility is the first line of defense against boot errors. You can use it to fix the Master Boot Record (MBR) and regenerate the Boot Configuration Data (BCD). Don't be scared by all these acronyms - you only need to run a couple of simple commands, and the tool will take care of the rest.

حل مشكلة Automatic Repair بسهولة دليل شامل لإصلاح الأخطاء في ويندوز10 و11 YouTube
Step-1: On the Automatic Repair blue display, restart your computer and select "Advanced options.". Step-2: Select "Troubleshoot" and then "Advanced Options," where "Startup Settings" is located. The computer will reboot, and you will then be presented with a selection of alternatives. Step-3: "Disable early launch anti.

Automatic repair your pc did not start correctly sosassociation
1. Restart PC atau Laptop 2. Dengan Melepas Komponen 3. Fix Boot Dengan Command Prompt 4. Memperbaiki Registry Corrupt 5. Coba Jalankan Fitur SFC 6. Mematikan Pengaturan Proteksi Anti-Malware 7. Nonaktifkan Secara Paksa Automatic Repair 8. Lakukan Reset Sistem 9. Install Ulang Windows 10. Pertimbangkan Mengganti Hardisk / SSD Akhir Kata

Fix Endless Repair Loop Preparing Automatic Repair Windows 10
Enable or Disable Automatic Repair in Command Prompt at Boot. 1 Open a command prompt at boot. A) Look under the Windows Boot Loader section for your Windows 10 (description), and make note of its identifier (ex: " {default}"). B) In this same section, make note if recoveryenabled is currently set to Yes (enabled) or No (disabled). Substitute.
Preparing Automatic Repair During Boot In Windows 11 Fix Tutorial Vrogue
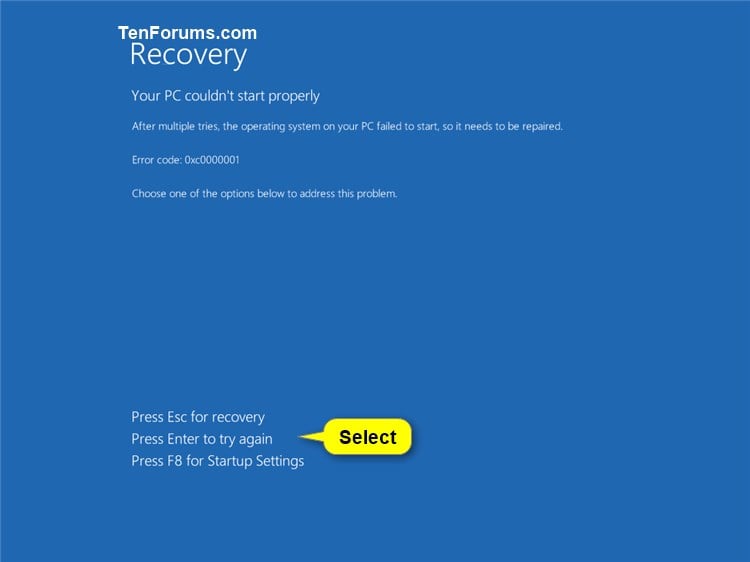
What Causes The Windows 10 Automatic Repair Loop? The repair loop itself is caused by Startup Repair failing to fix the Windows startup problem. A failed Windows update degraded hardware like memory or a hard drive or missing or damaged system files corrupted by malware.
Cách sửa lỗi Automatic Repair trong Window 10
The best way to automatically repair Windows is to boot from recovery media, or the original Windows setup media, and choose the correct diagnostic option. The specific steps involved in performing a Startup Repair, a Repair Install, or a Refresh Your PC can differ considerably depending on the operating system used.
[Fixed] "Automatic Startup Repair Couldn't Repair Your PC"
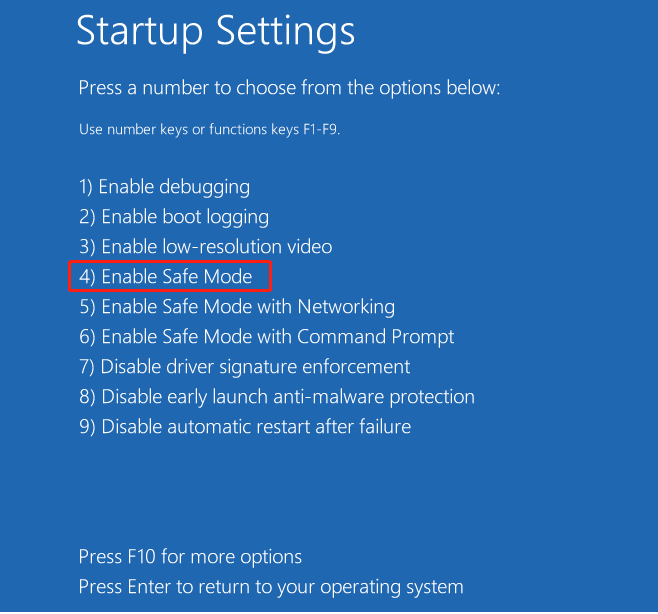
To do this, press the F8 key during boot up, then select See advanced repair options. In the boot troubleshoot menu, select Troubleshoot > Advanced options > Startup Settings > Restart. At the next stage, select Enable Safe Mode with Networking by selecting the 5 number key (or F5) on your keyboard.

7 Cara Mengatasi Preparing Windows dengan Mudah
Munculnya keterangan Automatic Repair pada komputer / laptop bukanlah tanpa alasan. Mengingat fitur tersebut akan berjalan ketika perangkat Anda sedang bermasalah. Dan hal ini biasanya disebabkan oleh adanya file sistem yang hilang atau rusak.
